How to screw roll - 10 steps so you never swim again
Get yourself a screw roll you can depend on
A screw roll is the most important kayaking skill to learn. It underpins everything you do in your kayak and boosts your confidence 1000%.
When you are learning to paddle, there is always the risk that you will tip over (capsize) and swim. As a beginner, this risk can hang over you and inhibit your paddling progress.
The key to progress is to learn a screw roll that will work successfully every time.
That's important, some people learn to roll, but it is shaky and does not work every time. This is no good. Your risk of swimming is reduced - but not eliminated.
The steps outlined below contain subtle tweaks that will ensure your screw roll works - on flat water, on white water and in the extreme of circumstances. You will never swim again.
Let's go through each step...
Step 1 - Hand Position
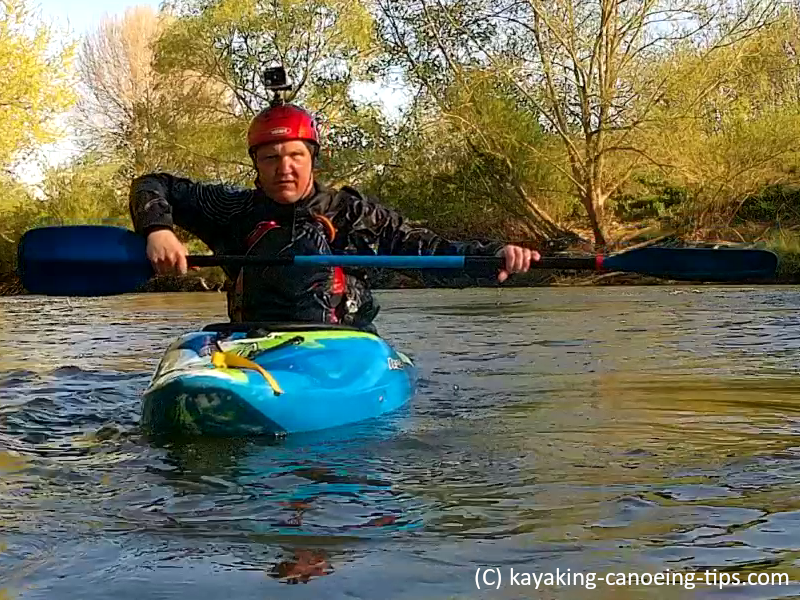
Your hand position on the paddle is absolutely critical to the success of your screw roll.
It's position ensures that paddle leverage is maximised whilst still maintaining a solid grip on the paddle shaft.
You can see that Dave's right hand is positioned close to the join between the shaft and the paddle blade. This means that he can 'feel' the paddle blade against his wrist and forearm.
This is important. When rolling in white water, you have to rely on 'feeling' which way round the paddle is. This hand position is the best way of doing this without having to remove your hand from the paddle shaft.
It guarantees that the opposite paddle blade is the correct way round to be on the surface of the water.
Step 2 - Initial Paddle Position
The position of the paddle needs to be parallel to the kayak with the front blade roughly three inches above the water.
You can see that Dave's left wrist is bent to allow the paddle to achieve the desired position.
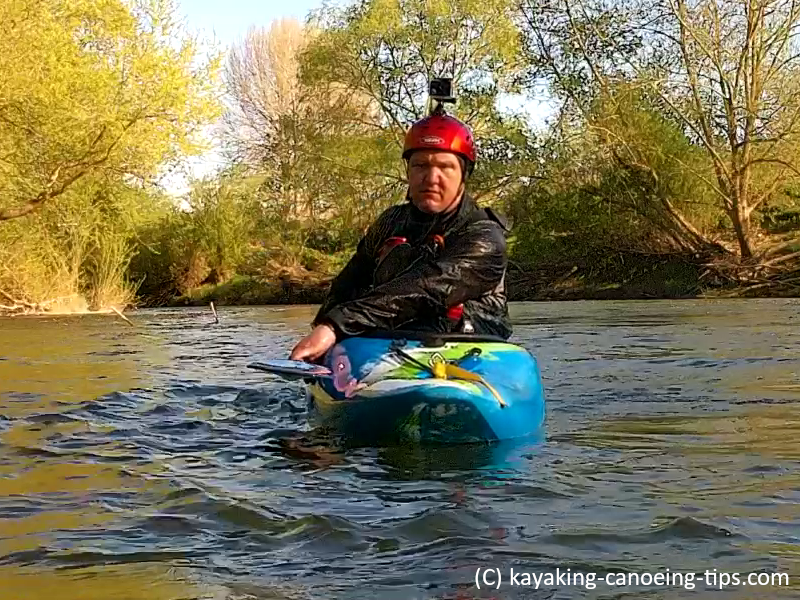
Step 3 - Head Position
The head is tucked forward to minimise drag in the water when the kayak initially rolls. It pulls the centre of gravity closer to the kayak.
This head position also ensures that the head is protected from rocks etc. when rolling in white water.
Step 4 - Take A Breath
Although a screw roll is usually fairly quick, you must take a larger than normal breath just before entering the water.
You can see that Dave's mouth is open and he is breathing in ready to go underwater.
A larger breath removes the panic from the screw roll. You will have enough breath to be completely under the water for perhaps 20 seconds - or more.
An average screw roll would take less than 5 seconds to complete.
When rolling in white water, it is even more important to grab this breath. As soon as you realise the kayak is going to capsize, you must take a larger than normal breath.
Equally, if your screw roll is unsuccessful the first time, and your face comes out of the water, you must take another larger than normal breath.
This gives you time to reset your roll and try again. Equally, the extra breath reduces panic allowing you to concentrate on being successful next time.
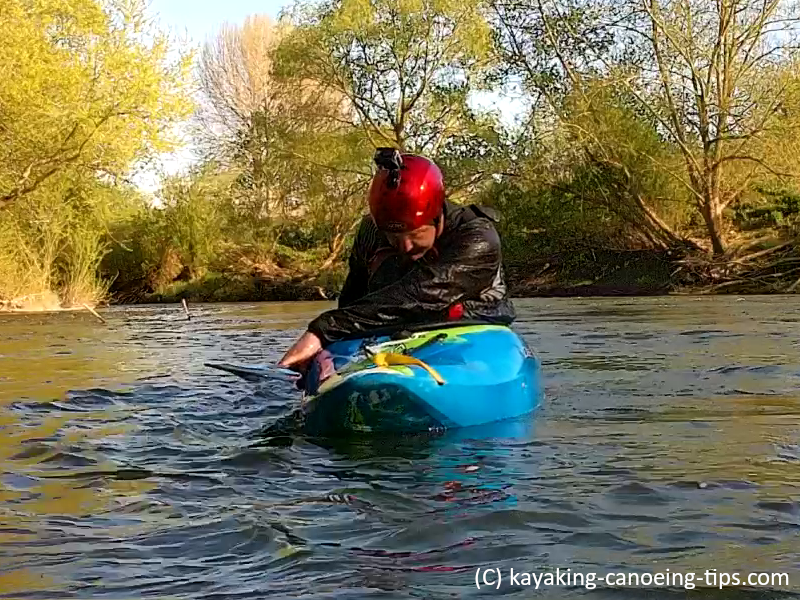
Step 5 - Rolling Paddle Position
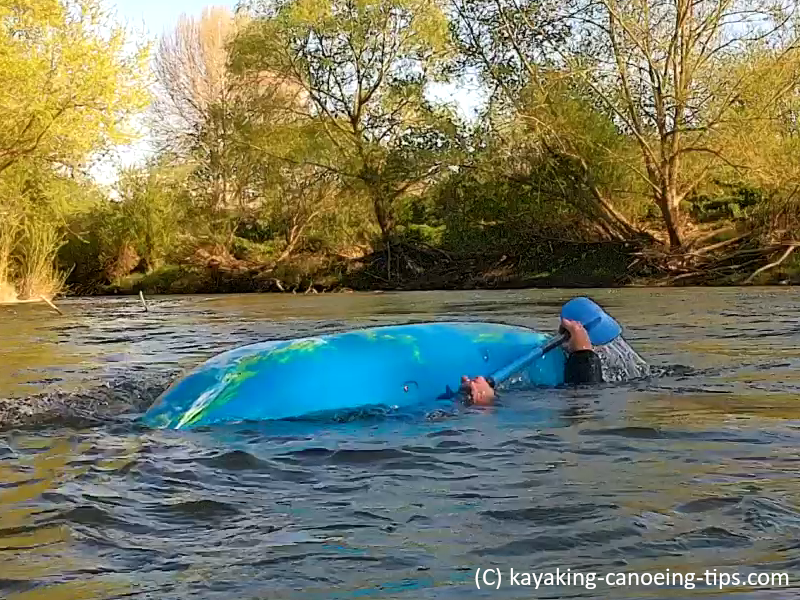
The position of the paddle just before the roll begins, is with the front blade flat on the water and the paddle shaft parallel to the kayak.
Both hands should be out of the water like Dave above.
As you are capsizing, you must keep your arms in a fixed position to allow the paddle to move under the kayak to the opposite side.
There will be resistance on the paddle blade pushing in the opposite direction - you must overcome this.
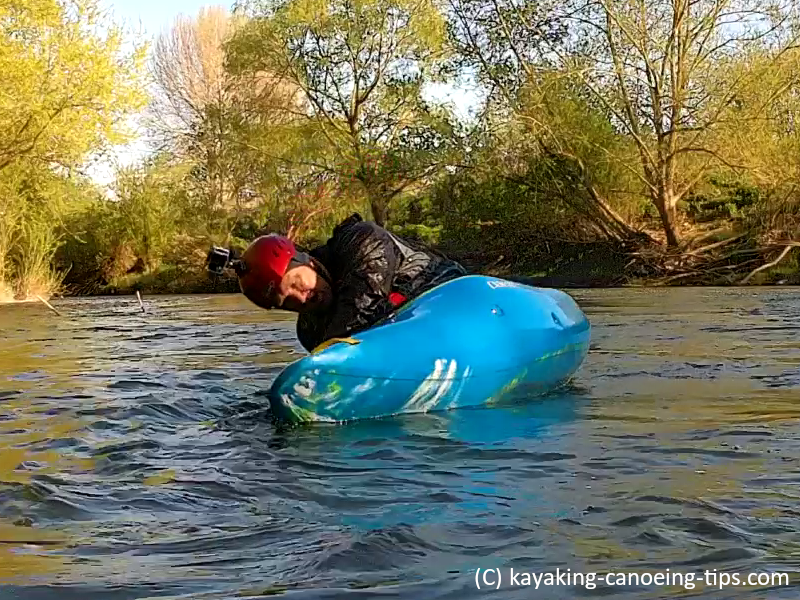
Step 6 - The Paddle Sweep
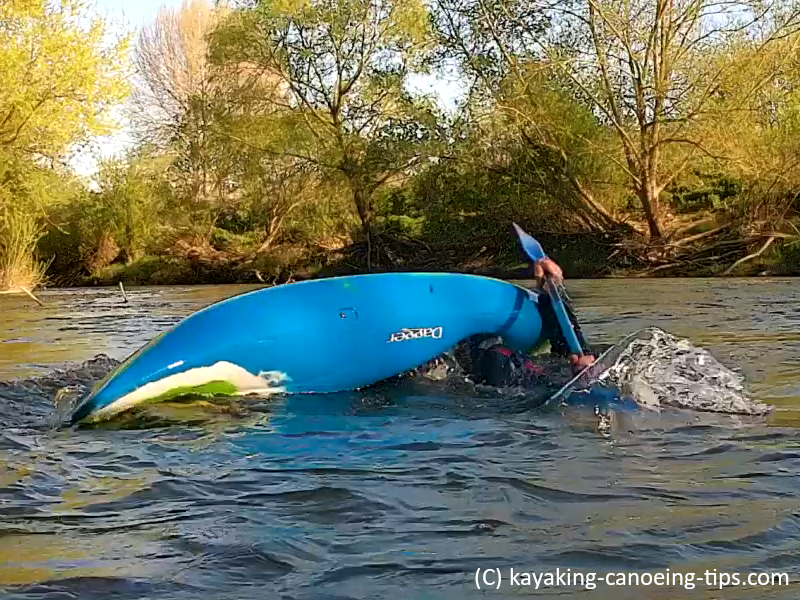
The paddle is swept in an arc away from the kayak. You can see the kayak is beginning to rotate.
At the same time, Dave is applying downward pressure on the paddle blade to pull his body up.
He is controlling the amount of pressure to allow the paddle to continue to sweep. Applying too much pressure will force the paddle blade too far down into the water.
Step 7 - The Hip Flick
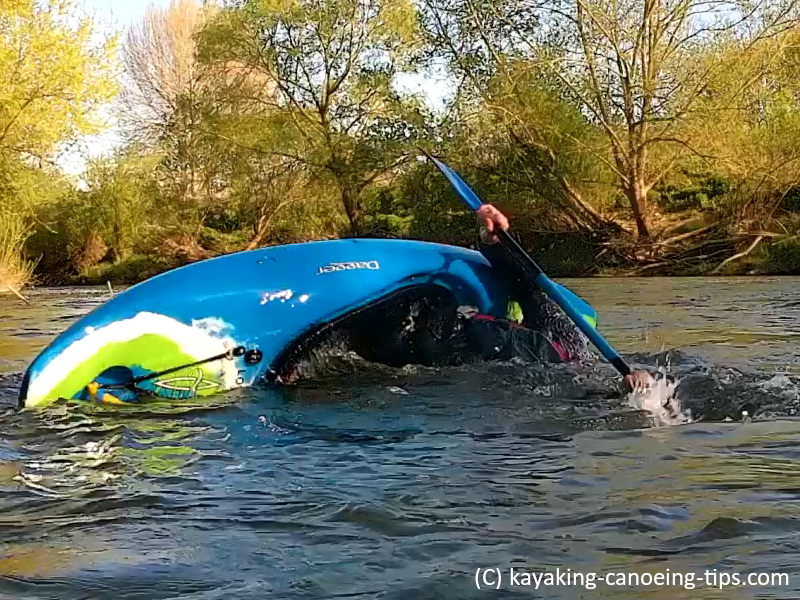
As the kayak rotates, it comes to a position where the resistance of the edge of the kayak needs to be overcome.
To assist with this, Dave is applying a 'flick' of his hips in line with the rotation of the kayak. Coupled with the continued pressure on the kayak blade, this will right the kayak.
Step 8 - Low Brace Support
With the kayak almost upright, Dave has applied a low brace to guarantee the kayak will stay upright.
This is critical in white water where other waves might be pushing against the rotation of the kayak.
It also means that the kayak is stable and Dave is ready to convert the low brace into a kayak stroke if necessary.
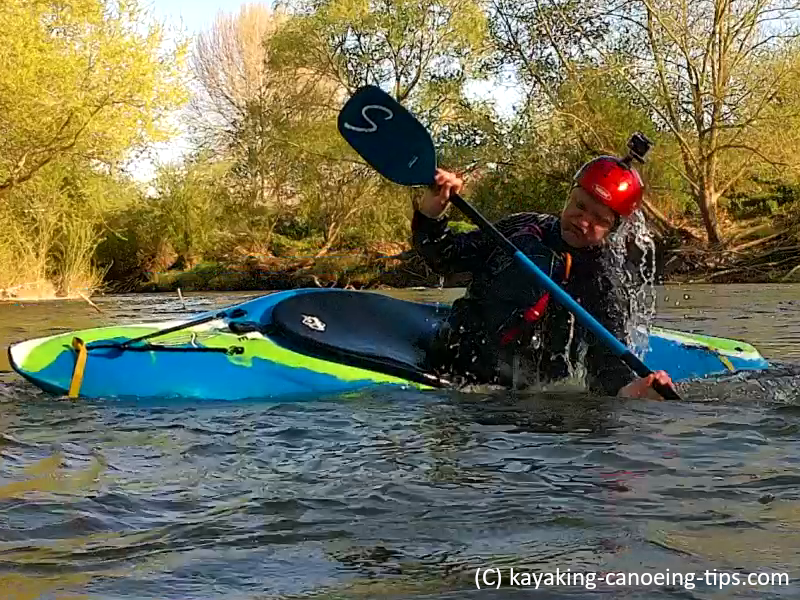
Step 9 - Upright and stable
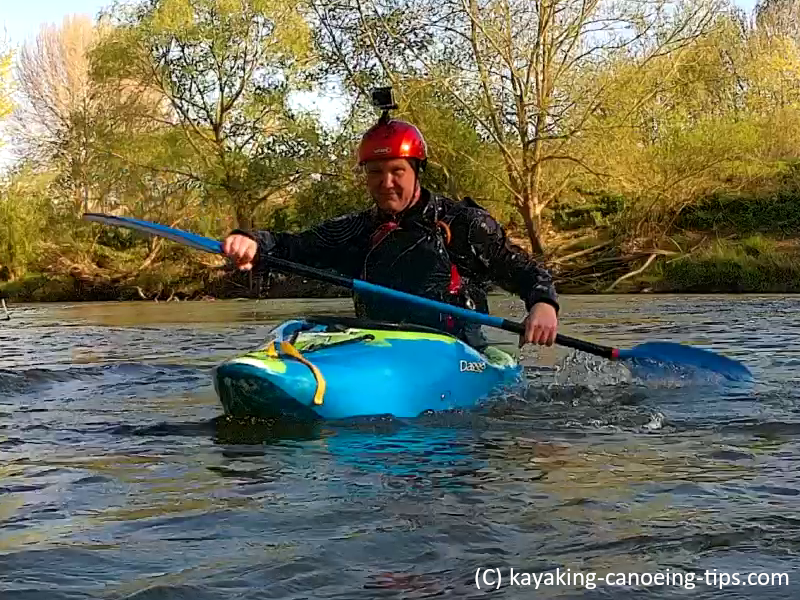
By a carefully application of sweep and pressure, the roll has been successful and the kayak is stable and upright.
The hands are being repositioned on the paddle shaft to allow full control of the kayak.
The body is upright left to right and front to back to provide maximum stability.
The low brace stroke has been converted to a forward paddle stroke to begin movement of the kayak.
And the most important step...
This is the step that most people miss out.
It is important as it is the step that will make the most difference.
It is simple - PRACTICE!
At every opportunity, practice your screw roll.
In a swimming pool, on the river, in the lake - anywhere that it is safe to do so.
Practice as many times as you can. Never be afraid of rolling, in fact, learn to love it and look forward to doing it.
The more you practice, the more your screw roll will become second nature. And when it happens for real, you will blast it and be successful.
Go for it!
PS. Paddlesports can be dangerous.
Read our safety disclaimer - here

LATEST PAGES
New paddling inspiration, tip, trip or technique video EVERY week! Watch Ed, Dave and Moo on their kayaking, canoe and SUP adventures. It's all about safely having fun on the water. 200,000+ views, 110+ videos & 900+ subscribers so far! Click below to start watching:
Ed & Dave Kayaking Youtube Channel

WANT TO HELP US?
We really value your visit to us today. We run this website and our Youtube channel to provide paddling inspiration, tips, trip and technique content to you. We love being out on the water! If you enjoyed your visit, you can support us by using the links below:
Buy us something on our wish list
Thank you

NEED WEB HOSTING?

We recommend IONOS. Great service, technical support and stable hosting. Click the link below to find out more:
IONOS Web Hosting - RECOMMENDED!